
Loot Filter Builder
Choose a game and starter preset, edit category visibility and RGBA styling, inspect the generated rules, then download an original .filter file.
Browser toolOpen tool →
Understand what your loot filter shows, why it hides the rest, and how to change it. Build starter rules, check syntax, test an item, and take a filter into the game with more confidence.
Original starter data, not live economy pricing. Always check exported rules in-game before relying on them.
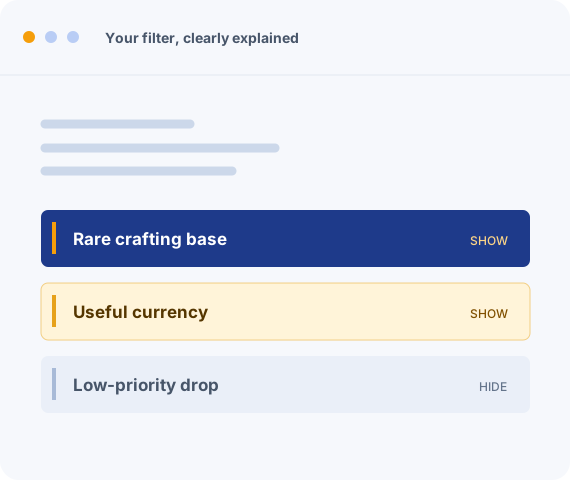
Start with a small filter, inspect an existing one, or work through a tricky item. Each tool is built to make a specific decision easier—not to replace your own judgment.
Choose a game and starter preset, edit category visibility and RGBA styling, inspect the generated rules, then download an original .filter file.
Validate an actual .filter file against the selected game and mode, read line-numbered errors and warnings, then copy or download the diagnostic report.
Paste a complete English copied item and a filter, then trace supported conditions, matched line and style; unresolved inputs produce unknown.
Tune text, background, and border RGBA with sliders or hex RGB; compare three composited ground previews and copy filter color actions.
Explore seven original starter policies, from showing everything to hiding low-item-level Normal and Magic body armour; the slider does not inspect your filter.
Compare original and updated filter text with line and block diffs, then copy or download a JSON report before reviewing changed visibility rules.
There is no secret preset that suits every character. Make the important choices in order, then refine them as your character and the game change.
Pick Path of Exile 1 or 2 before writing conditions. Their item systems overlap, but some filter keywords and item categories differ. A rule that makes sense in one game may not belong in the other.
Begin broad if you are learning; reduce visual noise later. Semi-Strict can be a reasonable starting reference, but the right setting depends on your progress, build, and tolerance for picking things up.
Give the items you actually want distinct text, borders, and background colours. Keep contrast high enough to read quickly. Use sounds sparingly so the exceptional drop still feels exceptional.
Download the plain-text filter, place it where your client expects it, select it in the game options, then test known drops. If something disappears unexpectedly, inspect the matching rule before tightening further.
Strictness is a visibility choice, not a measure of skill. Early in a league, common materials may matter to you. Later, the same labels might interrupt your pace. The best filter reflects what you want to stop for right now.
These levels describe common approaches; they do not promise an exact economic ranking or a universal set of hidden items. Open the explorer to compare each level and adjust your own rule set deliberately.
Explore all seven levels →| Level | Typical approach |
|---|---|
| Soft | Keep options visible while learning |
| Regular | Reduce obvious low-priority noise |
| Semi-Strict | A balanced place to begin refining |
| Strict | Focus on fewer, more relevant drops |
| Very Strict | Minimise interruptions during fast play |
A good filter is specific. Path of Exile 1 and Path of Exile 2 share the idea of showing important drops, but they do not share every condition, item system, or progression need.
Learn how item classes, base types, sockets, and rarity interact with rule order. Tune visibility for your build instead of treating every rare item as equally relevant. Use the guide to understand what the filter can and cannot infer from a drop.
Read the PoE 1 guide →Start with the conditions the second game actually supports, including its own item progression. Do not assume a PoE 1 file transfers cleanly. Validate your filter, review warnings about unsupported conditions, and verify the result inside the client.
Read the PoE 2 guide →FilterBlade is an independent, unofficial workspace for learning and editing Path of Exile loot-filter rules. The idea is straightforward: your filter should reflect decisions you can explain. The site offers original browser-based tools and practical guides, not an account service or an automatic market oracle. Your pasted filter text is processed on your device by the tools. You can begin with starter data, inspect the result, and export a plain-text file to test in-game.
As items fall, a filter reads conditions in ordered blocks and decides how each matching drop should appear. A rule can change a label’s text size, colour or border, add a supported alert, or hide a low-priority item entirely. Rule order matters: a broad instruction placed too early may catch a drop before a more specific instruction gets a chance. This is why a readable file and a deliberate test matter more than a dramatic preview. The filter validator can help catch syntax problems, while the item tester shows what can be evaluated from the item text you provide.
Strictness is shorthand for how much ordinary loot you want to see. A new character may benefit from seeing equipment and basic materials that a highly geared character would ignore. Hiding too much too soon can remove useful crafting bases or upgrades; showing everything later can bury important drops in visual noise. The strictness explorer describes seven common approaches, but it cannot decide what your inventory or build needs. Start with the visibility you can tolerate and tighten rules as your needs become clearer.
Community filters sometimes organise items into economy-based tiers that shift with live market prices. FilterBlade does not fetch live prices or claim to know today’s valuable drop. Its starter categories are illustrative, not a trading recommendation. Treat a tier as a question—“would I stop for this?”—rather than a promise. If a category matters to you, style it visibly; if it does not, verify your exceptions before hiding it. This keeps your filter useful even when an economy changes between play sessions.
A character’s weapon type, preferred armour bases, and socket needs can make otherwise modest drops worth seeing. A generic “valuable” list cannot understand every build. Use the builder to begin with a manageable set of rules, then edit the resulting file as your goals become more specific. Strong contrast makes an item legible; meaningful differences between labels make it recognisable at a glance. The colour and contrast palette helps check those choices before you commit.
Copying an item in the game and pasting its text into a tester can reveal which conditions apply. The browser cannot see hidden client state, imported files you did not provide, or every game-specific mechanic. When a result is uncertain, it should say so. Check the filter comparison tool after a revision to see what changed; then load your exported file in the game and inspect actual drops. A preview is a rehearsal, not a guarantee.
This site does not connect to Path of Exile accounts, publish filters to your profile, or synchronize choices automatically. Downloading a file and selecting it in the game client is a separate step. The installation guide explains the process and highlights where to verify your client’s current folder and selection controls. If a filter does not appear, check its extension, location, and syntax before assuming the game ignored it. Keeping those steps explicit is part of making the whole workflow understandable.
Useful context for the decisions behind a good filter: clearer rules, more thoughtful priorities, and a better way to troubleshoot when a label does not behave as expected.
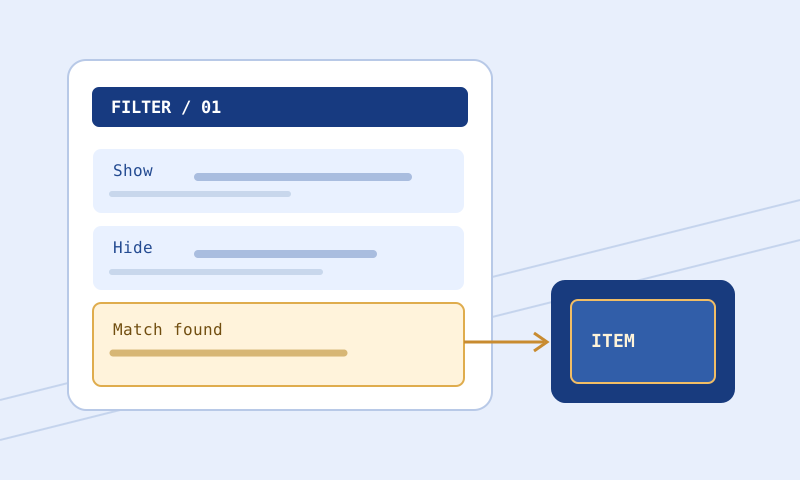
Turn expectations into repeatable item examples, boundary checks, and rollback evidence.
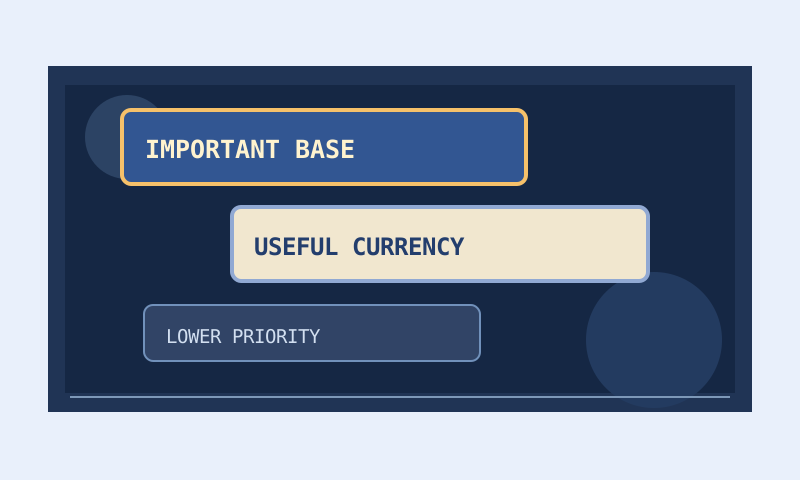
Build a visual hierarchy using composited contrast, borders, label size, and redundant signals.
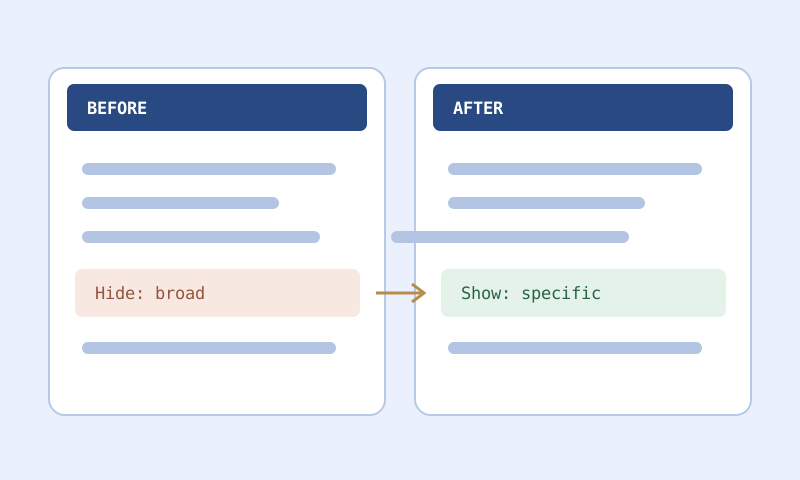
A migration checklist for game-specific conditions, item classes, test fixtures, and installation evidence.
A few boundaries are worth knowing upfront. The goal is a more understandable filter, not the illusion that any browser tool can see everything happening in the game.
No. This is an independent, unofficial fan-made toolkit. It is not affiliated with Grinding Gear Games, filterblade.xyz, or other community filter creators. The rules, text, and visual assets here are original.
No. The tools run in your browser and do not require a login. You can paste a filter, make a change, and export a file without creating an account. Some optional preferences may be kept locally in your browser.
No. The provided data is starter data, not a live price feed. Item priorities change with your build, league, and market. Review your exported filter rather than assuming a category represents current trade value.
Do not assume so. The games have different items and some different filter conditions. Select the correct game when building, validate your rules, and test the file in its intended game client.
It can evaluate the conditions it supports from the item text and filter you supply. Unresolved imports, missing item properties, and unsupported conditions produce uncertainty rather than a guaranteed match. Verify important results in-game.
Tool processing happens locally in your browser. Your filter text is not submitted to this site for analysis. Normal site requests, such as loading a page or submitting the contact form, are separate and are described in the privacy policy.
A broad Hide block may have matched before your intended Show block, or an exception may be missing. Compare your previous and current files, inspect rule order, then test the item again with its exact copied text.
Save the downloaded .filter file in the location used by your game client, then select it under the game’s filter options. Folder locations can vary by system and configuration, so consult the installation guide and your client’s current controls.
Start small, keep the useful things visible, and verify the result in-game. The tools are free to open and do not require an account.